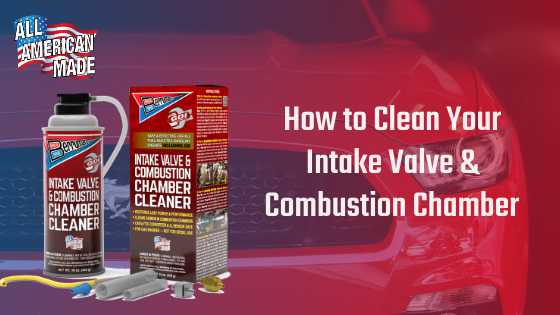
Cleaning your intake valve and combustion chamber from carbon build up is an excellent way to keep fuel-injection type engines running at top performance. Intake valve build-up can slow down air flow, resulting in performance and driveability issues like hesitation, stumbling, and hard starting. We recommend cleaning your intake valve at regular 15,000-30,000 mile intervals or as required.
Berryman’s 2611 Pro Kit can help clean up carbon build up and other deposits to keep your car running smoothly.
Cleaning Your Intake Valve & Combustion Chamber
Here’s how to get started cleaning your intake valve and combustion chamber. *Note: Do not use this product for diesel engines.
Step #1 – Determining Your Engine Size
Determine if your car is four, five, six, or larger cylinders. If you’re not sure, the quickest way to determine your engine size, is to find your emissions sticker located under the vehicle’s hood or door jamb.
Step #2 – Selecting the Flow Restrictor for Your Engine
Both sizes of flow restrictors are included with the 2611 Pro Kit.
For 2-cylinder and 4-cylinder engines, select the silver four-sided flow restrictor.
For 6, 8 or 12-cylinder engines, select the gold six-sided hexagon flow restrictor.
Once you’ve selected the correct resistor, insert the large barb end into the clear tube included with the kit.
Step #3 – Cleaning Process Via the Air Intake System
Berryman has created 2 different methods to this cleaning process, but we’ll cover the most common way to complete this procedure – via the air intake system. For option 2, watch the cleaning video.
Loosen the retainer clamp on the air boot, then carefully remove the air boot from the throttle body. Using the yellow curved straw included in the kit, place the u-shaped end into the throttle body facing the engine. Then, carefully replace the air boot back to the throttle body, ensuring that the seal is firmly in place.
Next, attached the small end of the flow restrictor from Step #2 into the yellow straw just placed, carefully ensuring all the hose connections are tight.
Step #4 – Placing the Aerosol Can
Place the Intake Valve & Combustion Chamber can (attached to the clear hose) upright on a flat, level surface. Check that your hoses and additional parts are clear of all fan blades and belts within your engine.
Step #5 – Starting Your Engine
This next step, you’ll need to start your engine – do not apply the chemical if your engine in NOT running. Once the engine is idle, slowly depress the tab on your Intake Valve & Combustion Chamber cleaner can to start the cleaning process. Once the can is empty, you’ve completed the cleaning process, and can now stop your engine by turning off your car.
*If for any reason you need to stop the engine or the engine stalls, depress the button under the tab on the can to stop the flow of the cleaning agent.
Now you’ve successfully cleaned your intake valve using the Berryman 2611 Pro Kit. Simply remove the yellow straw, reattach the air boot to the throttle body, and tighten the clamp. You’ll immediately notice the quicker starting, better acceleration, and better fuel economy.
Berryman’s Intake Valve & Combustion Chamber 2611 Pro Kit is one of the best intake cleaning products in the industry and is professionally formulated for use in all fuel-injected gasoline engines.
